Easy Coconut Chutney Recipe For Home
In India, we serve chutneys as accompaniments or side dishes, complementing a wide range of main courses, snacks, and street food items. They play a crucial role in enhancing the overall flavour profile of a dish, providing a balance of sweet, spicy, tangy, or savoury notes. The Coconut Chutney is one such gem of a dip, originating from Southern India but enjoyed across the subcontinent. In this blog, we’ll share an easy step-by-step coconut chutney recipe that you can make at home.
Coconut chutney is widely enjoyed with South Indian foods such as Idli, Dosa, Uttapams, Porottas, etc. Also, read this blog if you’re looking for other easy dips to make your snacking experience better.
How to make it: Easy Coconut Chutney Recipe
The delightful coconut chutney embarks you on a culinary journey to the sun-kissed tropical regions. This beloved Coconut Chutney Recipe hails from South Indian cuisine, renowned for its rich flavours and vibrant spices. With its fine creamy texture, subtle sweetness and a blend of aromatic ingredients, it has become a cherished favourite among food enthusiasts around the globe. Let’s begin with the step-by-step coconut chutney recipe.
The Grinding Process
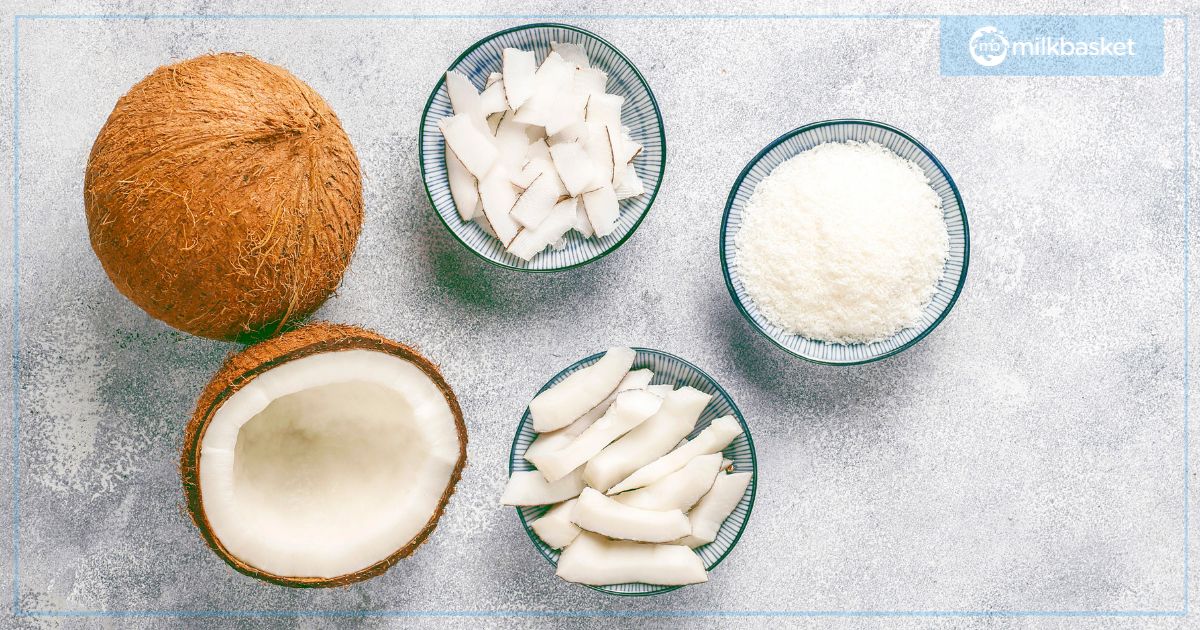
- Add half a cup of freshly grated coconut pieces into a small grinding jar.
- Add 1-2 chopped green chillies, a quarter tablespoon ginger paste (optional), 2 cloves of garlic (optional) and 2 tablespoons of roasted Chana dal (You can skip roasted chana dal if that is unavailable or if you don’t like it in the chutney).
- Add salt to your taste. We suggest adding less salt at first. Then, after grinding, check the taste and add some more salt if required. Always remember that you can add MORE salt if it isn’t enough, but you can’t remove it from the recipe once it has been added.
- Now, add a few tablespoons of water according to your requirement. Add less water (3-5 tablespoons) if you want the consistency of the chutney to be thick.
- Start grinding until you get a smooth consistency. If the blade is unable to grind or the chutney looks thick, then add 1 to 2 tablespoons more water or as needed.
- Check the taste and add more salt if required. Remove the chutney with a spoon or spatula and pour it into a heat-proof bowl (e.g. steel, pyrex or glass). Now leave it aside.
Tempering – Essential Step in the Coconut Chutney Recipe
- Take a small pan or simply a tadka pan, now heat half a tablespoon of sesame oil (gingelly oil – made from raw sesame seeds) over low heat flame. (You can also use sunflower oil, peanut oil, coconut oil or any neutral-flavoured oil as per your wish)
- Add half a teaspoon of mustard seeds carefully and let them begin to crackle. Once the mustard seeds begin to crackle, add half a teaspoon of urad dal (split and husked black gram, If you don’t have urad dal then feel free to skip it)
- Next, add half a teaspoon of cumin seeds to that pan. Try to stir often and fry, keeping the flame to low heat. You will see that the urad dal starts becoming golden. The cumin seeds will also crackle and get browned.
- Once the dal begins to turn to a golden colour, then add 1 dry red chilli (broken and seeds removed), 9 to 10 curry leaves and a pinch of hing (asafoetida). If the pan becomes very hot, switch off the flame after adding the red chilli, curry leaves and asafoetida. (Be careful as after adding the curry leaves the oil splutters.)
- Stir and fry for a few seconds till the curry leaves change colour and become crisp and the red chilli changes colour to dark brown.
- Switch off the flame and immediately pour the entire tempering together on the coconut chutney in the bowl that was earlier set aside.
Mix mix mix
Your tropical delight Coconut Chutney is ready. Serve the fresh Chutney with idli, dosa, vada, Pongal or pakoda of your choice.
Tips for Coconut Chutney Recipe
For a tangier chutney:
For sourness in coconut chutney, you can add one or both of the following ingredients:
- Tamarind: Take about half to 1 teaspoon of tamarind and grind it with the rest of the ingredients in the jar before adding tempering.
- Curd (yoghurt): When the chutney mixture is ground, then take it in a bowl. Mix it with 2 – 3 tablespoons of fresh curd.
Prepare Fresh and Serve immediately:
This chutney has to be consumed fresh. Avoid keeping the chutney at room temperature for very long. If you have to keep it for a few hours, then keep it in the freezer of your refrigerator and consume the coconut chutney within a day and do not wait for longer than that.
Increasing shelf life:
Adding tamarind to the chutney increases the life of the chutney a little more. You can even freeze the chutney for up to 1 day.
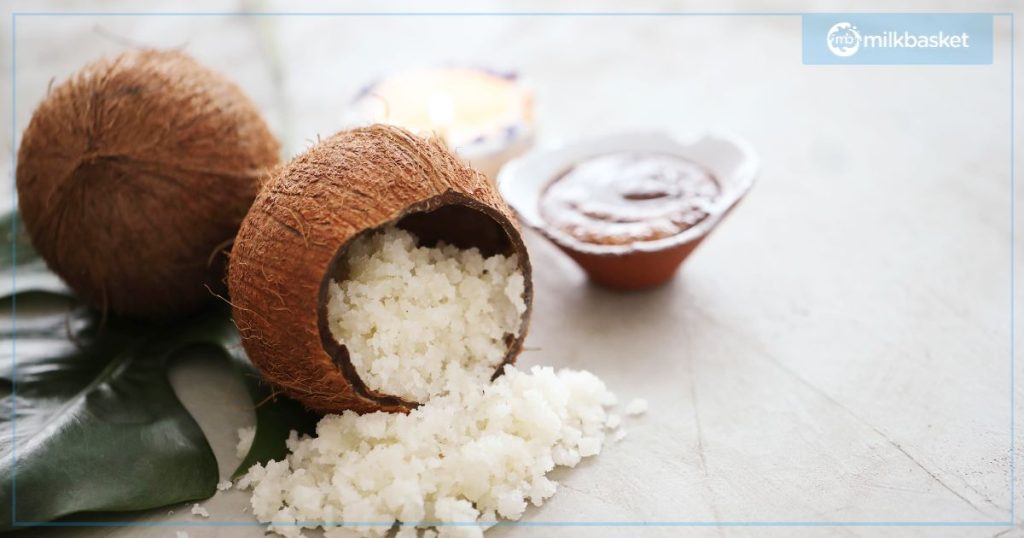
Using desiccated coconut
If you are ever using desiccated coconut or coconut powder, then always use warm water while grinding the chutney to get the right consistency.
In your endeavours to create coconut chutney at home, you can get help from Milkbasket. As a reliable grocery shopping application, we offer convenient grocery delivery services. The app provides you with over 6000 items across various categories, including groceries, household essentials, fresh produce, and stationery. With the option to place orders until midnight and get delivery the following morning at 7 AM, our online grocery delivery service can help you master this and many different iterations of the Coconut Chutney recipe. Also, read this blog if you’re looking for other easy dips to make your snacking experience better.
Author
Categories
Popular Posts
-

4 Eco-Friendly Decorations for Ganesh Chaturthi
Spread the loveLooking for sustainable eco Ganpati decoration ideas as Ganesh Chaturthi approaches on August 26, 2025? You’re not alone in wanting to celebrate Lord Ganesha while protecting our environment. This festival season, you can create beautiful decorations that honor tradition without harming the environment. Milkbasket understands your need for convenient online grocery delivery during […]
19 Aug 2025 read More... -
Milkbasket – A Revolution In The Online Grocery Delivery Services In India
Spread the loveThere’s no denying the fact that the pandemic has drastically changed the way people spend their time online, buying everything through various online retail platforms with the convenience of home deliveries in India. Milkbasket, with it’s features has proven to be a revolution in the online grocery delivery services in India. While stepping […]
08 Jul 2022 read More... -
Milkbasket’s Latest DVC Campaign Is Out, And It’s Quirky And Relatable As Heck!
Spread the loveThe year 2021 was all about patience, resilience, and the grind it takes to get back up from a worldwide slump that the COVID-19 pandemic had hit us with. It made us all revisit our roots, recalibrate our priorities, and strengthen our foundations. With the better part of 2022 gone into slowly spreading […]
28 Sep 2022 read More... -
Nabhi Chikitsa or Belly Button Therapy: The Simple Health Secret You NEED To Know!
Spread the loveOur Navel or Belly Button (scientific name Umbilicus) is believed to be the centre of our life force. Most of us take it as just another part of our body not knowing its deep, thrilling world. In ancient Hindu healing practices, the Navel is considered to be the most important point of the […]
08 Sep 2022 read More...